
Last updated November 2, 2026
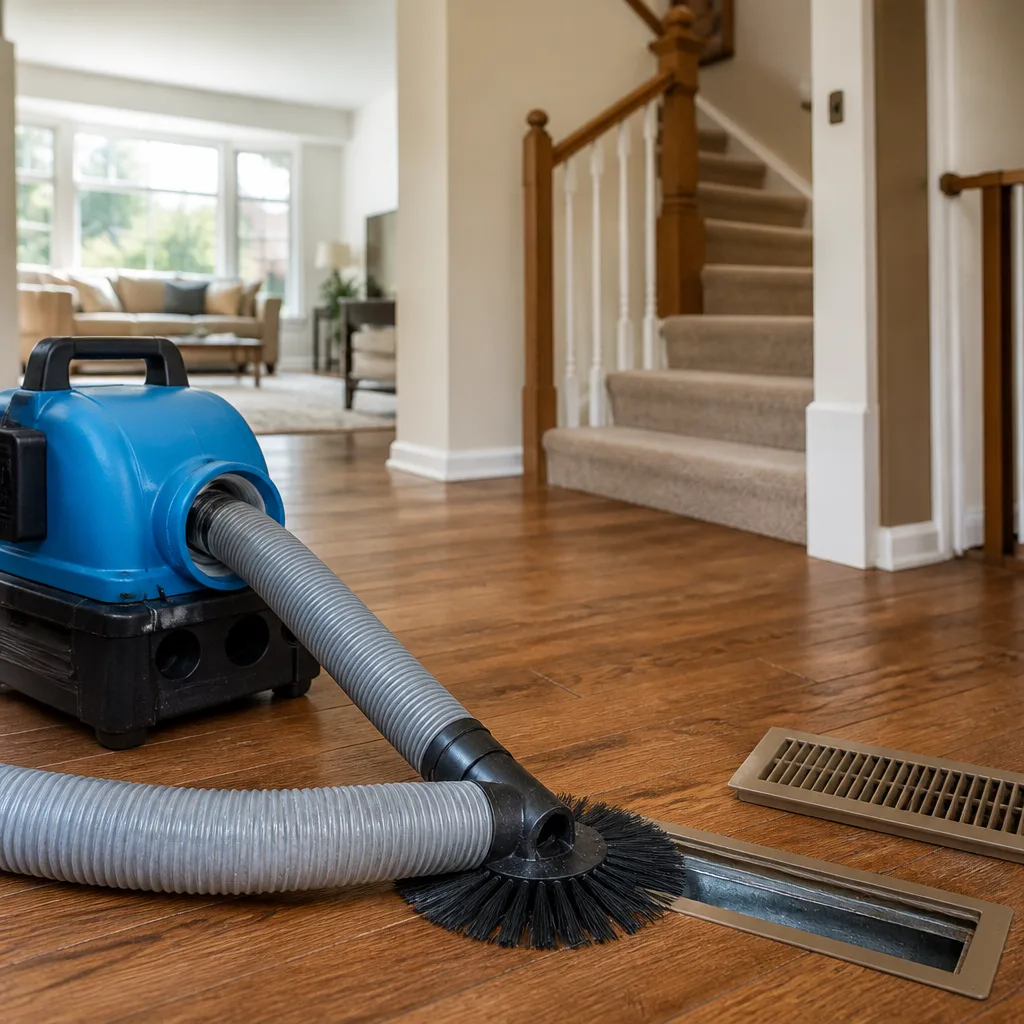 Whole-home duct cleaning
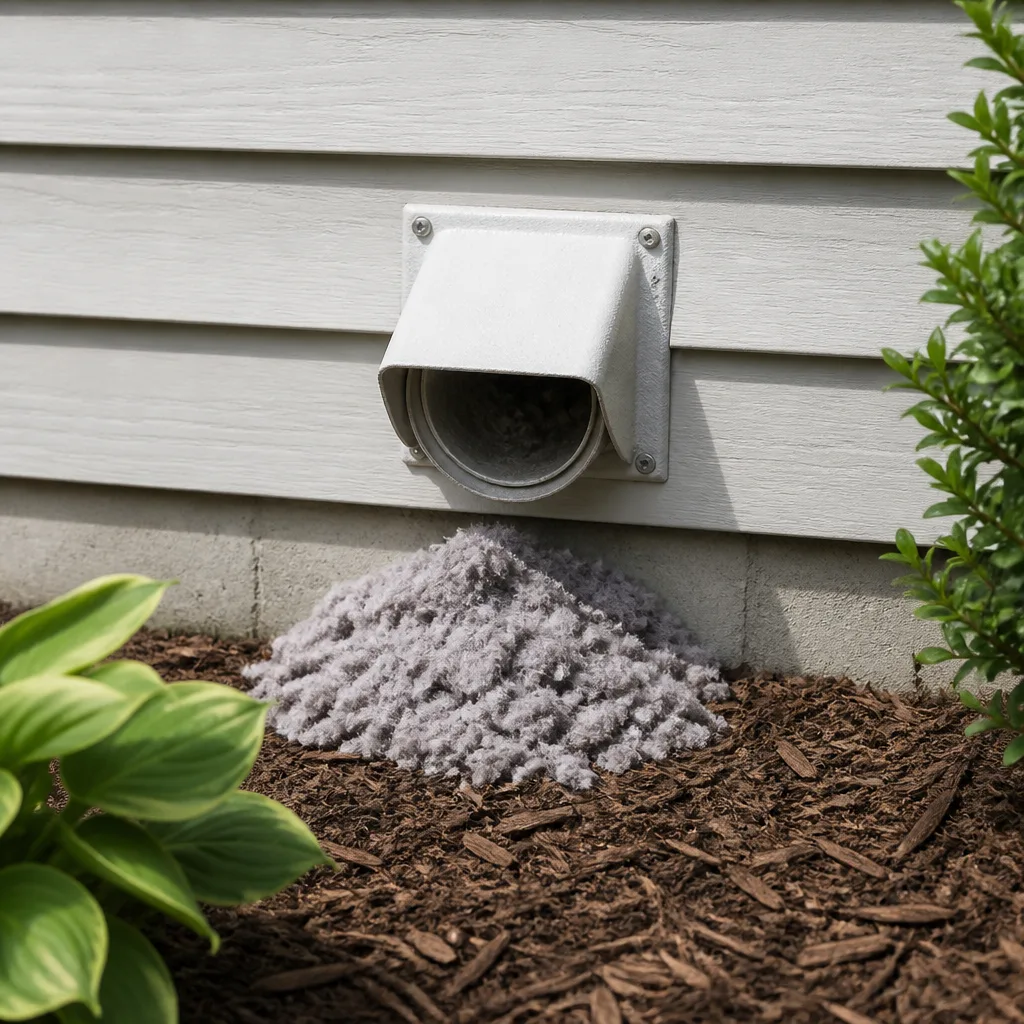 Dryer vent cleaning
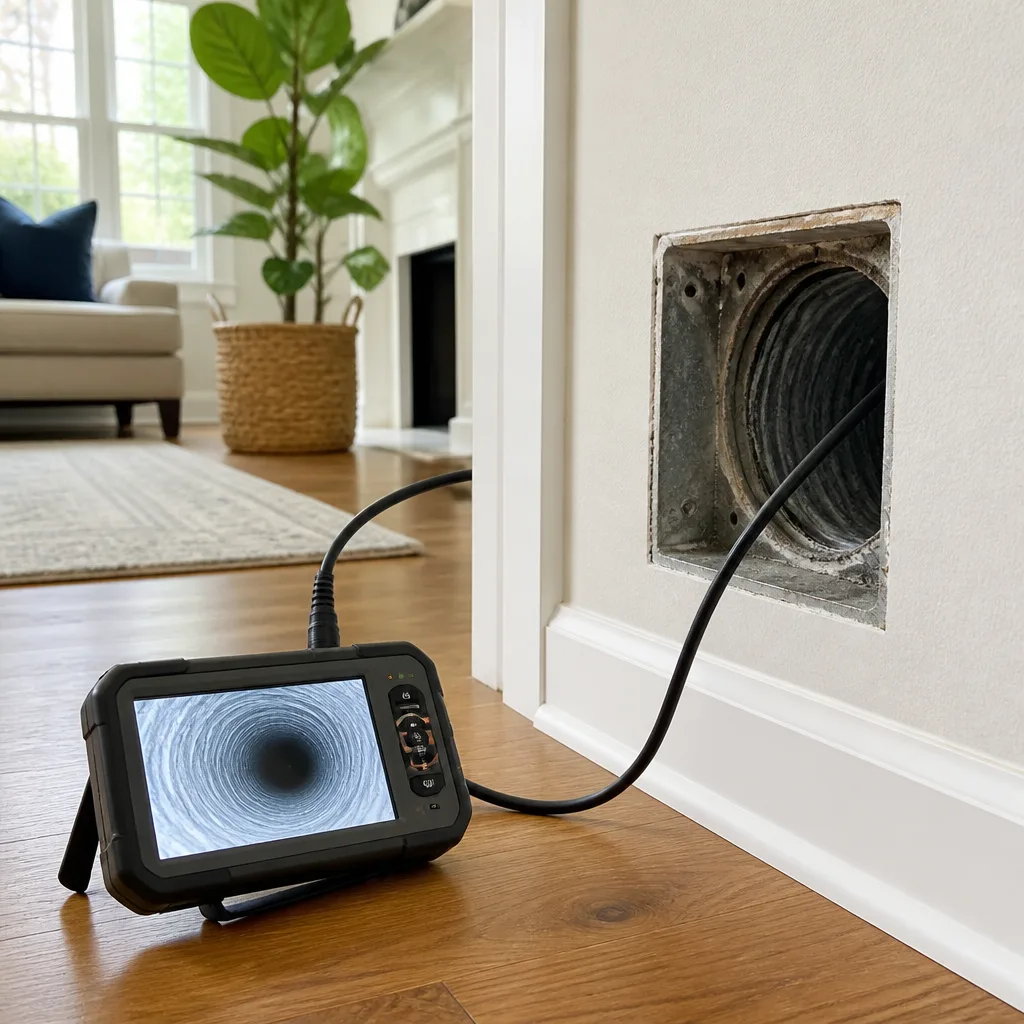 Camera inspection
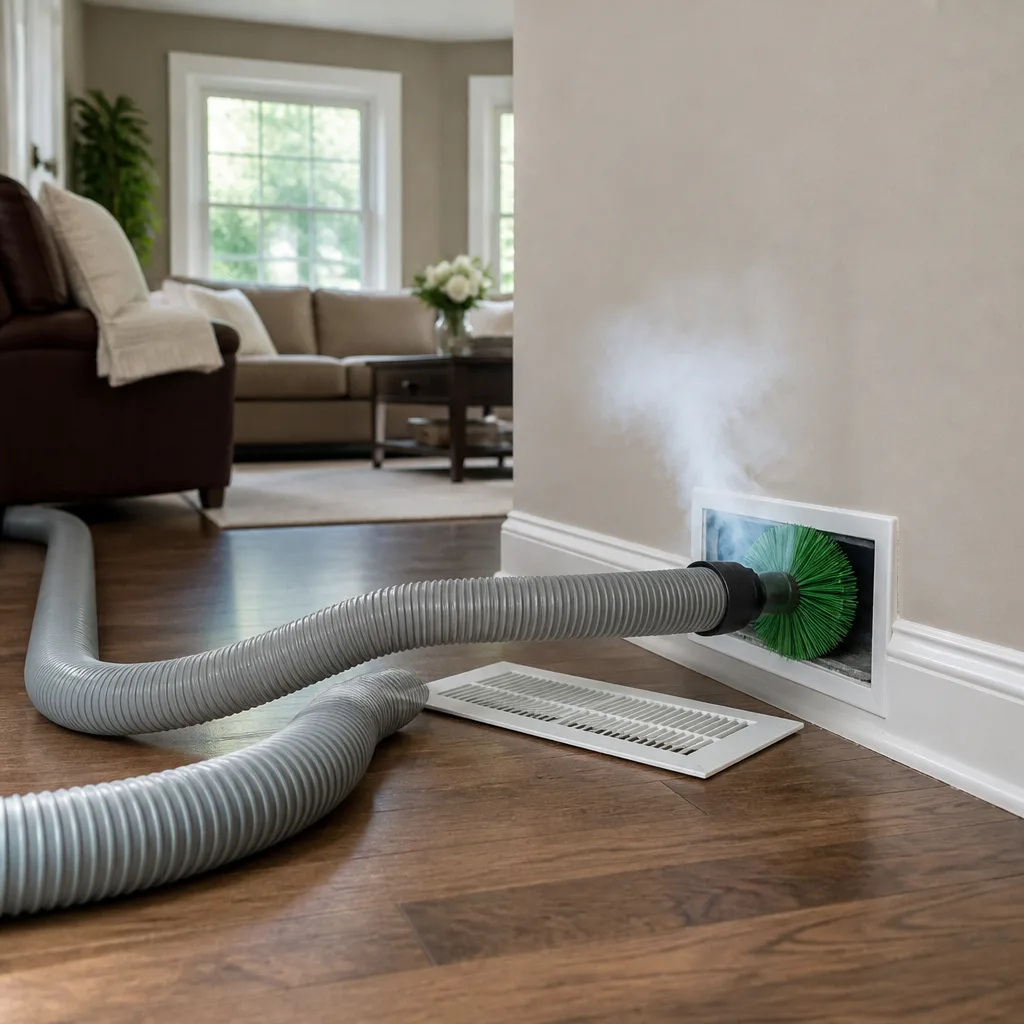 Sanitizing & deodorizing
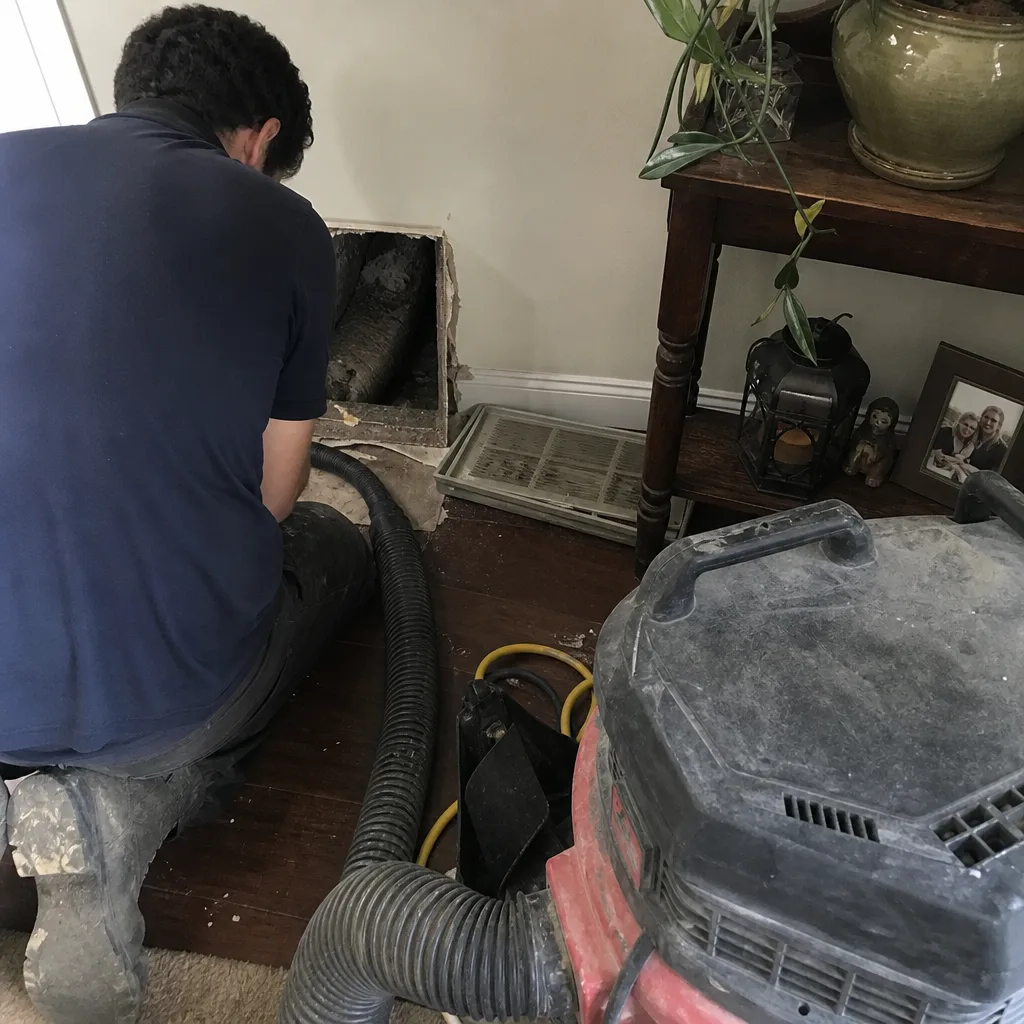
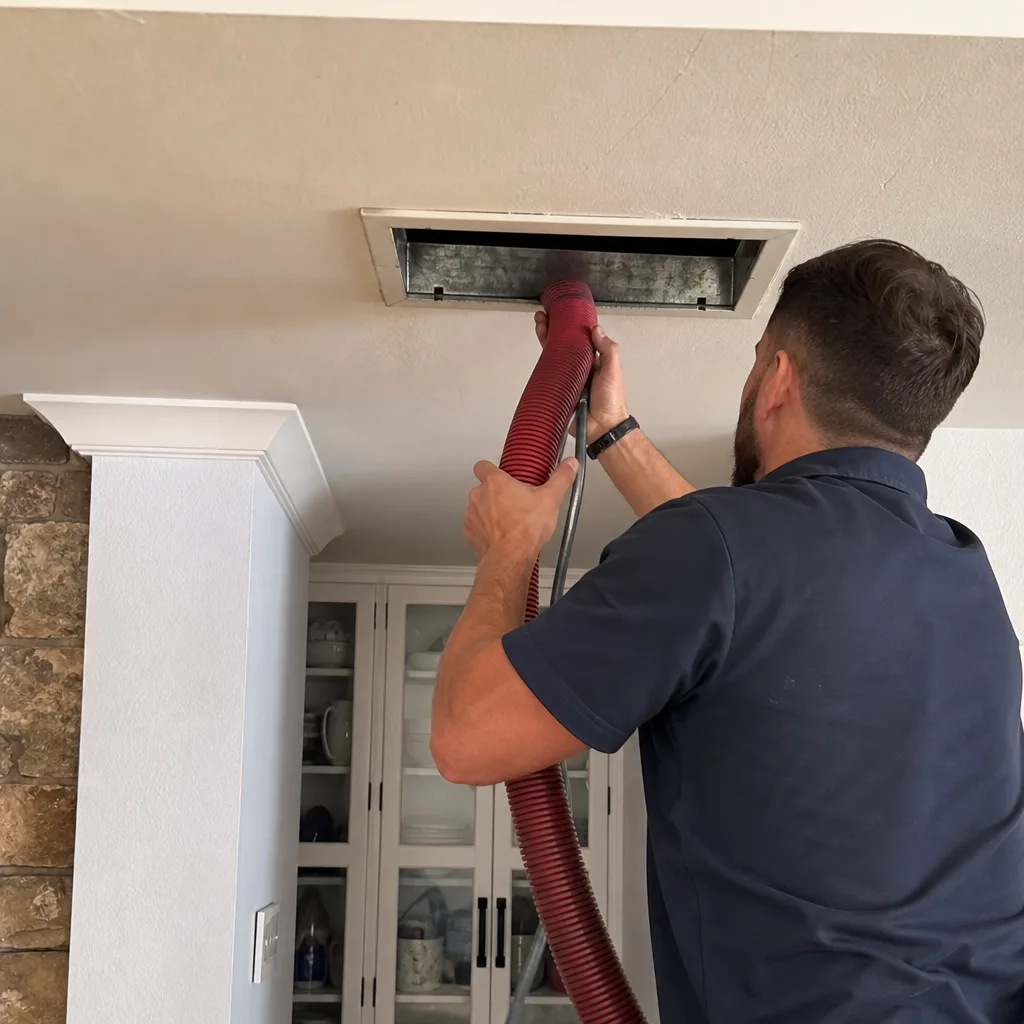
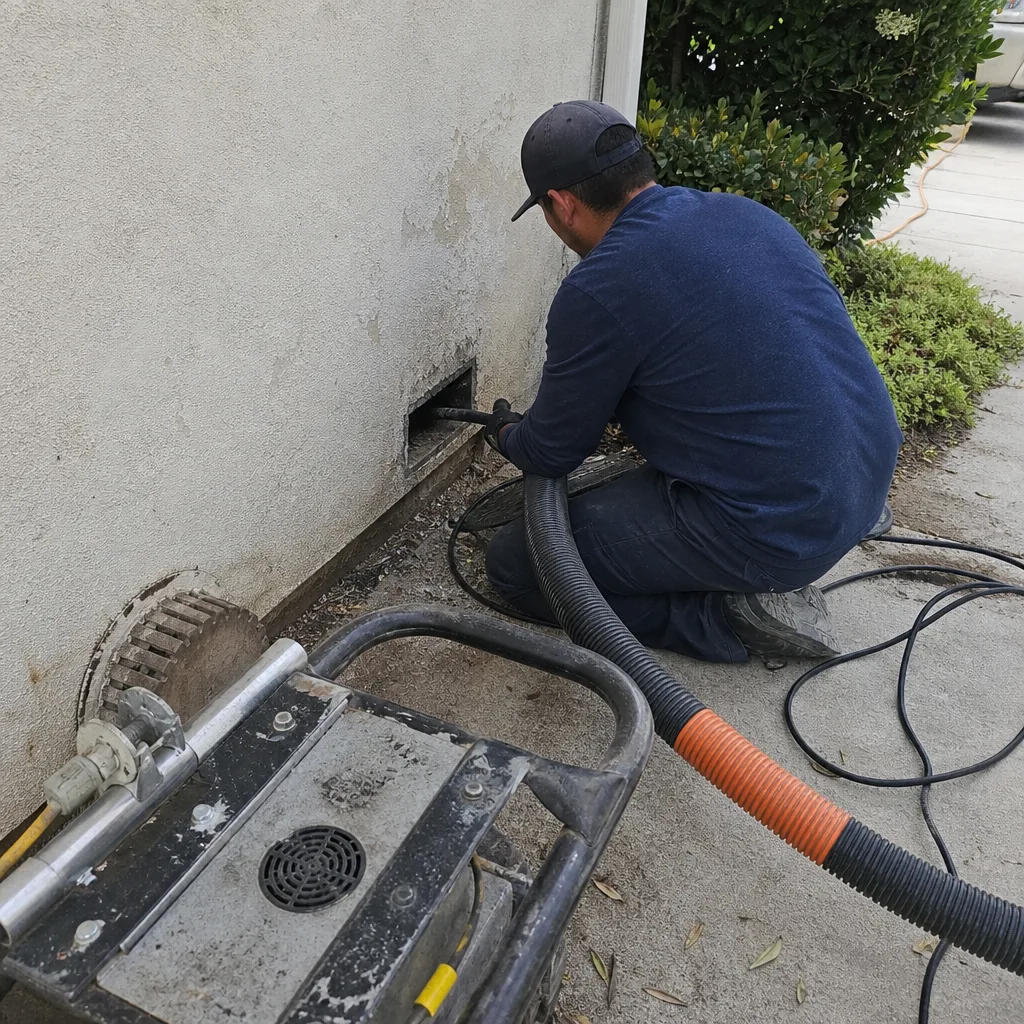
Whole-system duct and dryer vent check with before-and-after photos - you see exactly what came out of your vents
That "$99 whole-house special" is a bait ad - the real number appears once they are in your hallway, or the "clean" is a shop-vac at the register. We photograph the inside of your ducts before and after instead.
Air Duct Cleaning Troubleshooting: Common Problems and How to Fix Them
If your home smells musty two weeks after a duct cleaning, the problem almost certainly isn’t that the cleaning didn’t work. It’s that whoever cleaned your ducts never identified the active moisture source that’s recontaminating them. In La Jolla, where marine-layer humidity presses against coastal homes from late spring through early fall, this pattern shows up constantly: a cleaning happens, the air smells fresh for a week, and then the odor creeps back. This guide walks through the most common duct problems homeowners report after cleaning, how to diagnose each one correctly, and when the honest answer is to stop guessing and get a borescope inside the system. By the end, you’ll know the difference between a duct contamination problem and a duct leakage problem, why certain odors return, and which fixes are DIY-safe versus which need professional equipment.
Quick Answer
Most recurring duct problems – returning odors, uneven room temperatures, dust reappearing within weeks – are symptoms of specific mechanical failures or cleaning shortcuts, not signs that another cleaning is needed. The fix depends on correct diagnosis: moisture infiltration requires finding and stopping the water source; uneven airflow usually points to disconnected or crushed duct runs; and dust return after cleaning typically means the last job used negative-pressure extraction without proper register sealing, redistributing debris rather than removing it. When symptoms persist after basic checks, a borescope camera inspection is the only honest next step.
Styles & brands we work with
- Whole-home duct cleaning
- Dryer vent cleaning
- Camera inspection
- Sanitizing & deodorizing
Table of Contents
- Duct Contamination vs. Duct Leakage: Two Different Problems
- Why Odors Return After a Duct Cleaning
- Uneven Room Airflow After Cleaning: Three Likely Causes
- The Negative-Pressure Cleaning Error Pattern
- Dust Returning Within Weeks: Reading the Evidence
- When Troubleshooting Stops Working: The Borescope Threshold
- What You Can Check Yourself vs. What Needs a Tech
- Common Mistakes to Avoid
- When to Call a Professional
- Frequently Asked Questions
Duct Contamination vs. Duct Leakage: Two Different Problems
Homeowners use the phrase “duct problem” to describe everything from dusty vents to hot upstairs rooms. Technically, those fall into two distinct categories, and the fix for one won’t touch the other.
Duct contamination means the inside of the ductwork contains material that shouldn’t be there: dust buildup, mold growth on the liner, construction debris, pest remains, or accumulated pet dander. The symptom is usually visible – dust blowing from registers, dark streaks around vent covers, or a stale odor that gets stronger when the blower runs. The fix is source-removal cleaning with agitation tools (like rotary brush systems) plus HEPA-filtered extraction to capture what’s knocked loose.
Duct leakage means conditioned air is escaping through gaps, disconnected joints, or damaged flex runs before it reaches the rooms. The symptom is performance-based: certain rooms never reach temperature, energy bills running higher than they should, or dusty insulation getting pulled into the system through gaps in the return side. No amount of cleaning fixes a leak. Leakage requires sealing joints, reconnecting separated sections, or replacing crushed flex duct – which is air duct repair work, not cleaning work.
Here’s the diagnostic question that separates them: Is the problem what’s inside the ducts, or what’s escaping from them? If you see debris at the register, it’s contamination. If you feel weak airflow at the register but the system runs normally, it’s likely leakage or blockage. In coastal La Jolla homes, both problems often coexist – salt air accelerates corrosion at metal duct joints while marine moisture feeds mold inside the liner. A competent inspection checks for both on the same visit.
Why Odors Return After a Duct Cleaning
The most frustrating call we get starts the same way: “You cleaned our ducts, and two weeks later the smell came back.” First, the important distinction: if the odor is different or weaker after cleaning but still present, the cleaning likely removed surface buildup but missed something. If the odor is identical in character and intensity, the source was never inside the ducts to begin with.
Returning odors after cleaning trace to one of three root causes:
- An unaddressed drain pan issue. The evaporator coil sits above a drain pan designed to collect condensation and carry it away. When that pan cracks, tilts, or its drain line clogs, water pools and stagnates. The standing water breeds bacteria and mold. Every time the blower runs, that odor gets pushed through the ducts – freshly cleaned or not. No duct cleaning removes the smell because the source is at the coil, not in the ductwork.
- An active roof or wall leak. Water entering the building envelope soaks into insulation, drywall, or the duct liner itself. The ducts get cleaned, but the moisture source remains active, so mold regrows within the same two-to-four-week window. In La Jolla, we see this with older Spanish-style homes where flat or low-slope roof sections develop slow leaks that drip into return plenums or attic duct runs.
- A compromised duct liner. Older fiberglass-lined ducts absorb moisture and hold it. Once the liner has been wet, surface cleaning won’t remove odor that’s penetrated into the fiberglass matrix. The liner either gets replaced or the odor persists. This is a repair-and-replace scenario, not a cleaning scenario.
How to narrow it down at home:
- Run the system with the fan on but the AC compressor off. If the odor appears, it’s inside the air handler or ductwork – not the coil condensate, which needs active cooling to generate.
- Run the AC normally. If the odor is strongest in the first 60 seconds after the compressor kicks on, suspect the coil and drain pan.
- Check the registers closest to the air handler versus farthest away. If the odor is uniform everywhere, the source is at the equipment. If it’s localized to one room or one branch, suspect a leak into that specific duct run.
Uneven Room Airflow After Cleaning: Three Likely Causes
If a room that used to get adequate airflow suddenly doesn’t after a cleaning, something changed during the work. Ducts don’t spontaneously develop blockages; they get disturbed. Here are the three causes we find most often, in order of frequency:
- Dislodged insulation blocking the run. If the cleaning used aggressive agitation (especially rotary brush systems), material can get pushed toward a register boot and compact there. In attics with blown-in insulation, a small gap at a register boot or duct collar lets insulation get sucked into the airstream. Either way, the airflow restriction is physical and localized. The fix is accessing that section and removing the blockage.
- Reconnection error. If the cleaning crew detached a register boot or flex duct connector to access the run and reattached it incorrectly – or didn’t reconnect it at all – air escapes into the attic or crawlspace instead of the room. This is surprisingly common with crews rushing through multiple jobs per day. The telltale sign: airflow is weaker at the register but you can feel air moving in the attic or crawlspace near that run.
- Pre-existing duct separation the cleaning exposed. Some homes have duct runs that were already partially separated, but the gap was small enough that airflow loss was minimal. The mechanical vibration and physical movement during cleaning widened the gap. Now the run leaks significantly. This isn’t damage caused by cleaning so much as acceleration of a failure that was already present. The fix is air duct repair in La Jolla – sealing the joint or replacing the damaged section.
Verification at home: for any room with weak airflow, check the register face – remove it if you’re comfortable doing so (this is low-risk, two screws typically) and look into the boot. Use a flashlight. If you see the damper closed or a wad of material behind the register, that’s a simple fix. If the boot is clear and airflow is still weak, the problem is deeper in the run and needs a camera to locate.
The Negative-Pressure Cleaning Error Pattern
Most consumer-grade duct cleaning uses a large vacuum connected to the system, pulling negative pressure while the tech works register by register. That’s the industry standard method, and it works – if the remaining registers are sealed during the process.
Here’s the error pattern we see from cut-rate jobs: the vacuum hooks up to the trunk line, the tech opens one register at a time to agitate and extract, but the other registers stay open. That means the vacuum is pulling air from the path of least resistance – the open, unsealed registers – rather than from the register being actively cleaned. Debris gets loosened at the working register but never gets pulled out. It falls back into the run or drifts to other branches. When the system turns back on, that debris blows into rooms.
The telltale signs your last cleaning redistributed rather than removed:
- Dust appears at registers that were previously clean, within 72 hours of the job.
- You hear debris rattling inside ductwork when the system starts up.
- Visible debris falls from a register when you tap the surrounding ceiling or wall.
- The crews finished unusually fast – a thorough source-removal cleaning of a single-family home takes hours, not 45 minutes.
Proper source-removal cleaning requires sealing every register except the one being worked, so the negative pressure pulls through that specific run. Abatement Technologies negative-air and HEPA-filtration equipment is designed for exactly this containment-grade approach: capture the dislodged debris before it can redistribute. If your contractor can’t explain their containment procedure in detail, that’s a red flag.
Dust Returning Within Weeks: Reading the Evidence
A duct cleaning should reduce dust levels in the home for months, not days. If you’re seeing significant dust accumulation on surfaces within three to four weeks of a cleaning, something is actively generating or introducing dust. Here’s how to read the evidence:
- Dust is uniform throughout the home. This suggests the system itself is generating dust – deteriorating liner material, rust from aging metal ducts, or accumulated debris in the return plenum that wasn’t reached. A photo inspection of the return side often shows what the cleaning missed.
- Dust is concentrated in one room or one side of the house. This points to a leakage point on the return side pulling attic or crawlspace air (and whatever’s in it) into that branch. Return-side leaks are particularly problematic because the negative pressure actively sucks in insulation fibers, dust, and whatever else is in the unconditioned space.
- Dust shows as dark streaks around register faces. This is classic evidence of air bypassing around the register boot rather than through it. The gap between the boot and the drywall allows whatever’s in the wall cavity to get entrained into the supply air stream.
- Dust reappears fastest in rooms with the most register airflow. This pattern suggests the debris is downstream of the cleaning point – inside the supply trunk or branch runs, being pushed out by normal operation.
None of these scenarios calls for another cleaning as the first step. Each calls for diagnosis: locating the leak, identifying the material source, or verifying whether the previous job actually extracted what it loosened. A second cleaning without diagnosis just repeats the cycle.
When Troubleshooting Stops Working: The Borescope Threshold
There’s a point in every homeowner’s troubleshooting where the accessible information runs out. You’ve checked the registers. You’ve changed the filter. You’ve looked at the visible ductwork in the attic or crawlspace. And the problem persists.
That point is the borescope threshold. A borescope is a flexible camera probe, typically 30 to 50 feet long, with an LED light at the tip. It gets inserted into the duct system through a small access point and gives a real-time view of what’s inside: moisture staining on the liner, debris accumulation behind a bend, a disconnected joint mid-run, pest intrusion, collapsed flex duct.
Symptoms that justify a borescope inspection include:
- Persistent odor that returns after cleaning, with no visible source at the coil or registers.
- Unexplained airflow loss in one room where the register and boot are both clear.
- Evidence consistent with pest activity (sounds, droppings near registers, nesting material) but no visible entry point.
- Recurring dust despite a recent cleaning and a properly sealed system.
- Any suspicion of mold growth that can’t be confirmed from the register opening.
In our experience serving La Jolla and surrounding coastal communities, the borescope is what separates guesswork from diagnosis. We’ve found cracked plenums hidden behind finished walls, returns that were never connected to the trunk line at all, and a surprising amount of construction debris from original builds decades ago. None of those were visible from the outside. All of them were obvious in seconds on camera.
The economics also favor diagnosis: a borescope inspection costs a fraction of a cleaning, and if the problem is a leak or damaged section, the fix is duct repair – not another attempted cleaning that won’t resolve the underlying issue.
What You Can Check Yourself vs. What Needs a Tech
Some duct troubleshooting is safe and reasonable for a homeowner to do. Other work requires professional equipment and carries real safety risks. Here’s the honest line:
Safe to Check Yourself
- Removing register covers (typically two screws or a pressure fit) to inspect the boot and visible portion of the run.
- Checking the filter condition and airflow direction.
- Inspecting visible ductwork in the attic or crawlspace – if you can safely access those spaces – for disconnected joints, crushing, or obvious damage.
- Running the fan-only mode to isolate whether an odor comes from the equipment or the conditioned air cycle.
- Confirming that registers are open and dampers are in the position you want them.
Leave to a Professional
- Anything requiring duct access beyond the register boot or visible attic section. Disturbing duct connections without understanding the system can create new leaks.
- Mold confirmation and remediation decisions. Visual identification isn’t reliable – testing should be done by someone who works with IAQ systems and can recommend appropriate mitigation.
- Any repair involving the air handler, coil, or plenum. These are specialized HVAC components, and working on them improperly can damage expensive equipment.
- Duct cleaning itself. This isn’t a DIY job with a shop-vac. Proper source-removal requires professional rotary brush equipment (we run Rotobrush and Nikro systems), HEPA-filtered negative air extraction like Abatement Technologies units, and the training to do it without damaging the ducts.
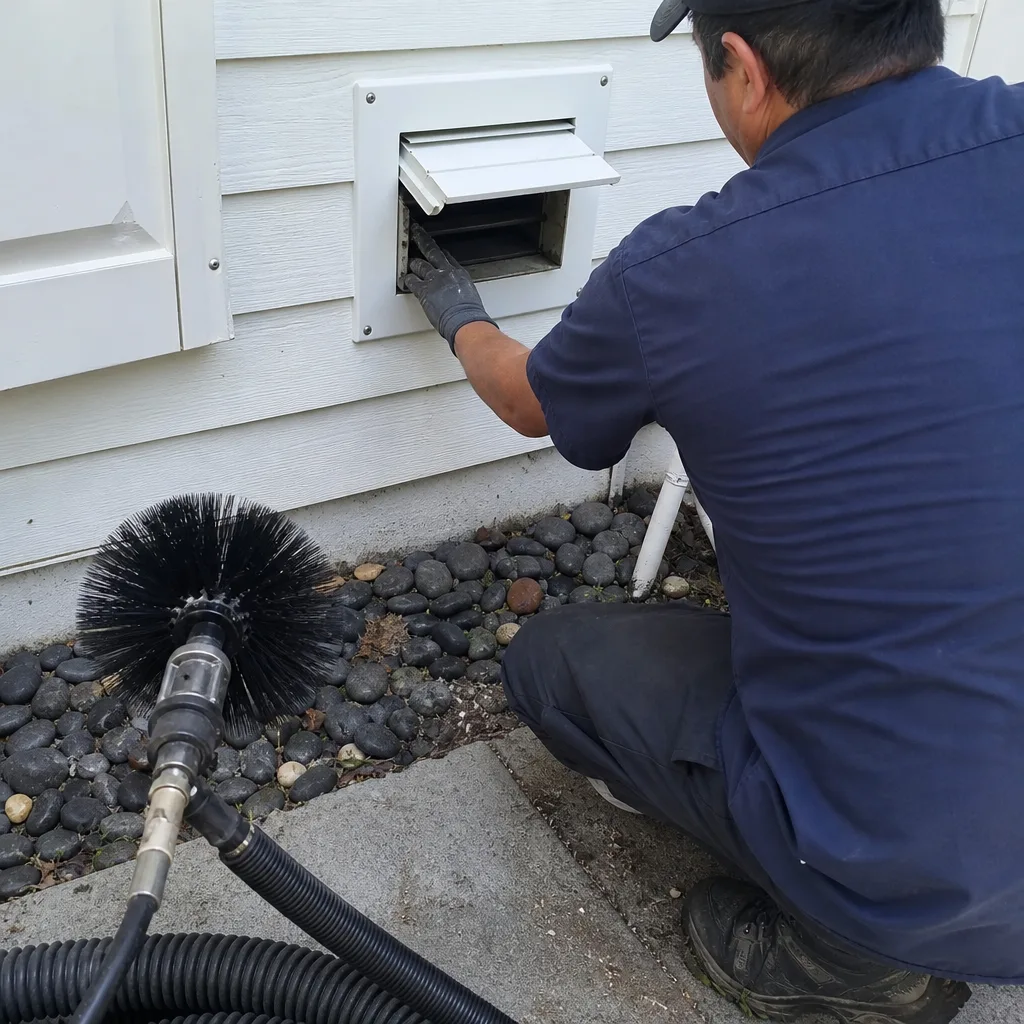
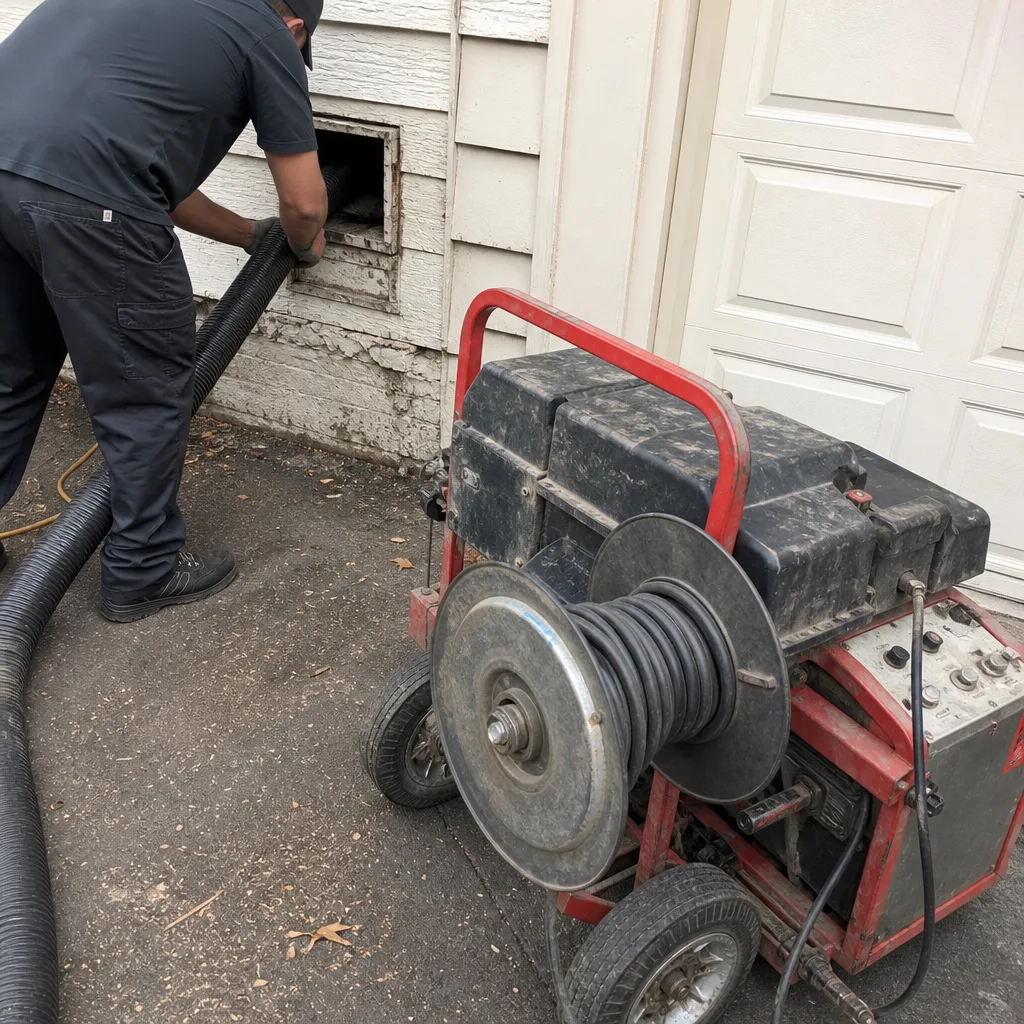
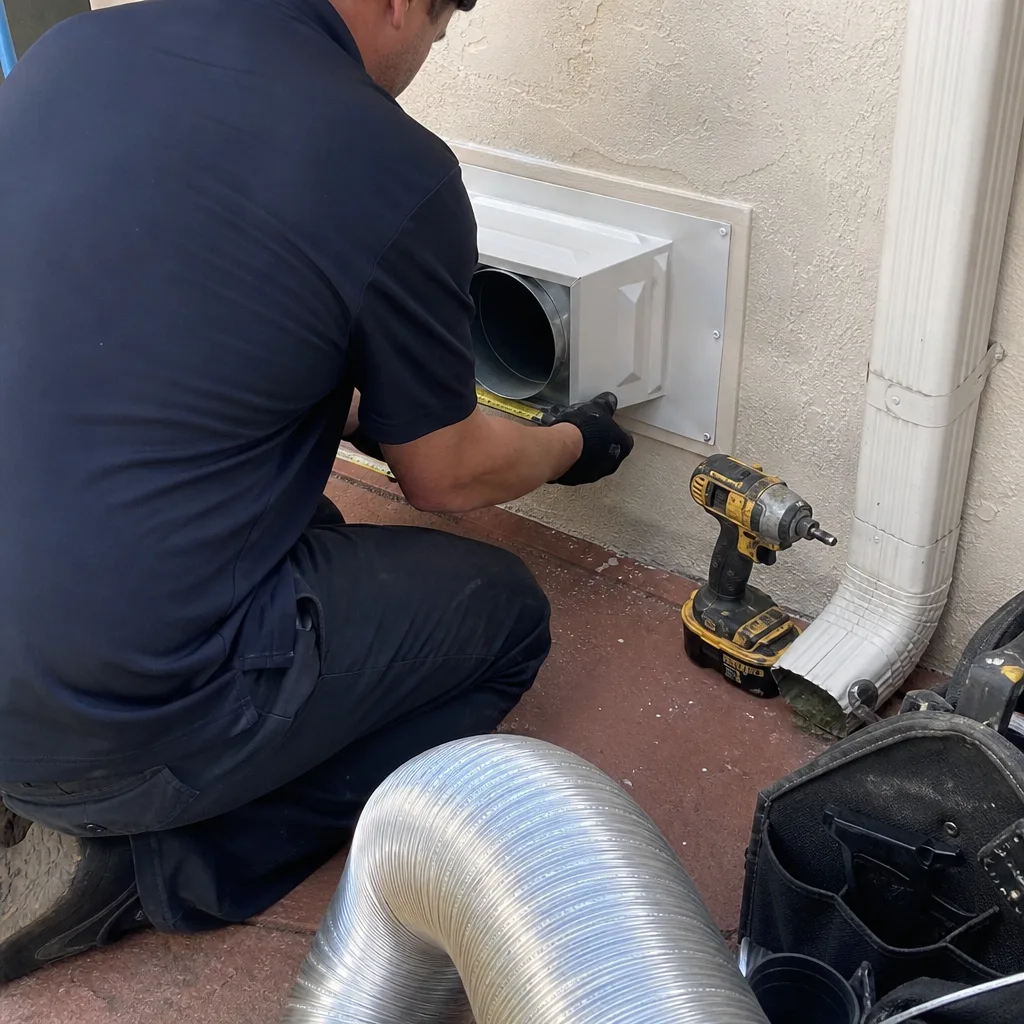
If the issue also involves your dryer vent, that’s a separate and urgent concern: dryer vent cleaning in La Jolla addresses a documented fire-safety risk, not just an air-quality one. Lint accumulation is the leading cause of dryer fires, and the vent should be cleaned regularly regardless of what’s happening in your HVAC ducts.
Common Mistakes to Avoid
- Scheduling another cleaning without identifying why the first one didn’t hold. If the problem returned, the cleaning never addressed the root cause. Diagnosis comes first.
- Assuming the cleaning crew damaged your ducts because airflow changed after the visit. Often the airflow issue was pre-existing and simply became apparent, or a marginal connection loosened during the work. A borescope inspection tells you which.
- Covering registers to “redirect airflow” to other rooms. This increases static pressure and can strain the blower motor. Duct systems are designed as balanced systems, not adjustable faucets.
- Using scented products or chemical sprays inside ducts to mask odor. These coat the liner, attract additional dust, and don’t address the source. If the odor is organic, it comes back worse.
- Ignoring a dryer vent problem because the rest of the ducts seem fine. Each system is separate. A clean HVAC duct system does nothing for a lint-clogged dryer vent.
- Hiring based on price alone for a cleaning. The low-ball quote often reflects the absence of proper containment equipment and sealing procedure. The result is the redistribution pattern described above, and you pay twice: once for the bad cleaning and again for the corrective one.
- Waiting until the problem is severe before inspecting. A small leak or early moisture intrusion is cheap to fix. A mold-saturated liner or collapsed duct run ten years later is a major repair.
When to Call a Professional
You should pick up the phone when the problem survives your basic checks, when you can’t safely access the area that needs inspection, or when the symptoms suggest a repair issue rather than a cleaning issue. Specifically: persistent odor after cleaning, airflow loss you can’t explain from the register, evidence of moisture, any suspicion of mold, or dust return that continues beyond a month. Air Duct Cleaning La Jolla offers free estimates in La Jolla – call (866) 282-7507 and we’ll walk through what you’re seeing before recommending any work. Sometimes the right answer is a simple fix you can handle yourself, and we’ll tell you that.
Frequently Asked Questions
Realistically, 12 to 24 months under normal conditions in La Jolla, where coastal dust and marine air quality affect indoor environments. If visible dust is accumulating at registers within weeks, the cleaning either wasn’t performed correctly or there’s an active source introducing new debris into the system.
Yes, particularly if the system circulates dust, pet dander, or mold fragments from disturbed or contaminated sections of ductwork. The key variable is whether allergens are being actively blown into living spaces when the system runs, which is why identifying contamination source points matters more than a generic cleaning.
Not always, but it should be investigated rather than masked. A musty odor indicates moisture is present somewhere – the coil, the drain pan, the duct liner, or the building structure. The moisture source determines whether you’re dealing with a minor condensate issue or an active mold problem that requires remediation.
Real source-removal cleaning involves professional-grade equipment (Rotobrush rotary brush systems, Nikro tools, HEPA-filtered negative air machines), time, and labor. La Jolla’s coastal housing stock often includes older homes with complex duct layouts, inaccessible crawlspaces, and original ductwork that requires additional care during cleaning.
Effectively and safely, no. The equipment required for source-removal cleaning – rotary brush agitation combined with HEPA-filtered negative air extraction – costs tens of thousands of dollars and requires training to operate without damaging ductwork. A shop-vac and a drill brush clean the first few feet of visible duct and leave the rest untouched.
A borescope camera inspection answers that definitively. Cleaning addresses contamination inside the ducts; repair addresses structural problems – leaks, disconnections, crushed runs, damaged liner. Many La Jolla homes need both, especially older properties where the duct system has never been inspected.
The Bottom Line
Duct problems are symptoms, not diagnoses. Returning odors point to moisture sources that cleaning never touched. Uneven airflow points to mechanical failures or cleaning errors, not a need for more cleaning. Dust reappearing within weeks points to leakage, redistribution, or active contamination. The common thread: none of these problems get solved by scheduling another identical cleaning. The solution is correct diagnosis – usually with a borescope – followed by the appropriate cleaning or repair. For homeowners in La Jolla and surrounding coastal communities, that means finding a contractor who can do both: air duct cleaning in La Jolla and air duct repair in La Jolla under the same roof, with the diagnostic equipment to tell you which one you actually need.
Written by the team at Air Duct Cleaning La Jolla, serving La Jolla since 2018.
See the difference
 Before
 After
 Before
 After
 Before
 After